
 English
 Español
 Русский
 Deutsch
 Suomi
Suomi Français
 Italiano
 Nederlands
 Português
 Türkçe
 中文
中文 عربي
عربي Tagalog
 اردو
اردو Gaeilge
 বাংলা
বাংলা Magyar
 Polski
 Čeština
 Български
 Bahasa Indonesia
 한국어
한국어 Română
 Svenska
オンラインマニュアル
このプログラムは、監視したいコンピューターにインストールされている必要があります。
1. プログラムのダウンロード方法
Spyrixのプログラムはいつでもここからダウンロードできます:spyrix.com/download.php.プログラムを選択し、「ダウンロード」ボタンをクリックしてください。
2. インストール方法
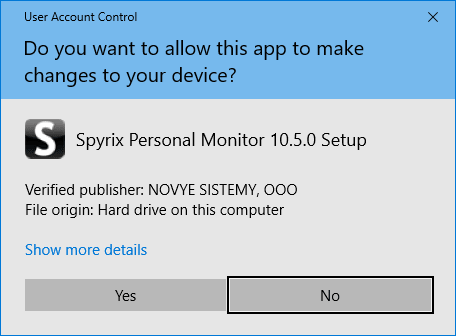
ダウンロードが完了したら、ダウンロードしたファイルをクリックしてインストールを実行します。システムからプロンプトが表示されたら「はい」をクリックします。
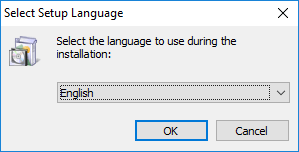
言語を選択する
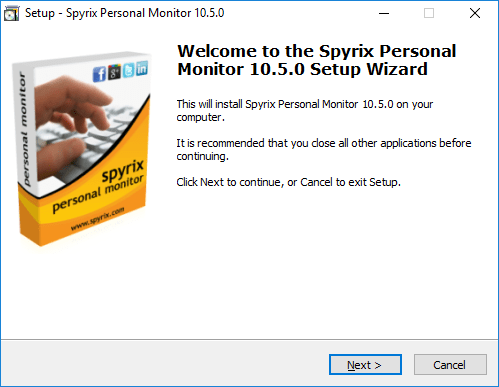
次へ」をクリック
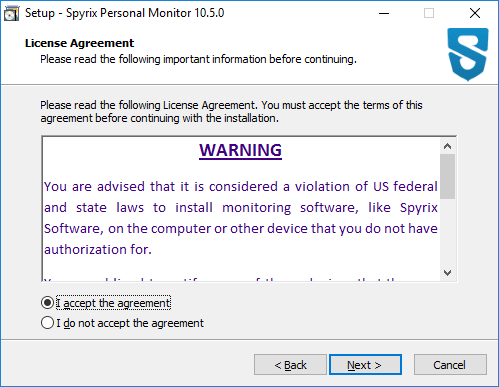
同意する」を選択し、「次へ」をクリックします。
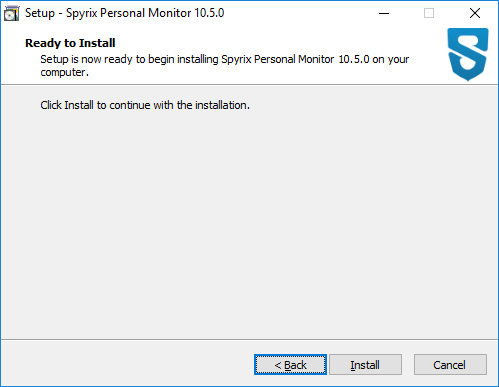
インストール」をクリックし、インストールが完了するまで待つ。
Finish "をクリックしてインストールを完了します。その後、プログラムは自動的に起動します。

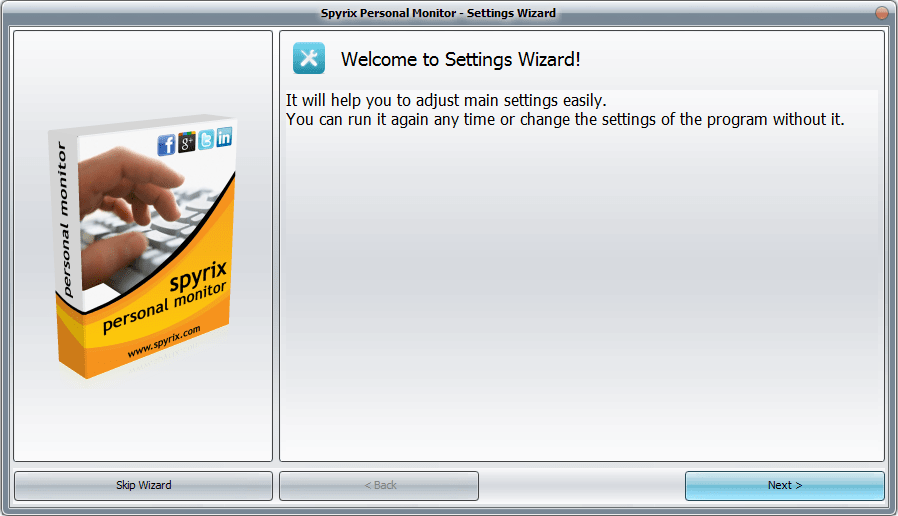
3. 設定ウィザード
インストール後、プログラムは設定ウィザードを起動します。設定を行わない場合は、「ウィザードをスキップ」することができます。しかし、スキップせずにすべての設定を行うことを強くお勧めします。設定には数分かかります。
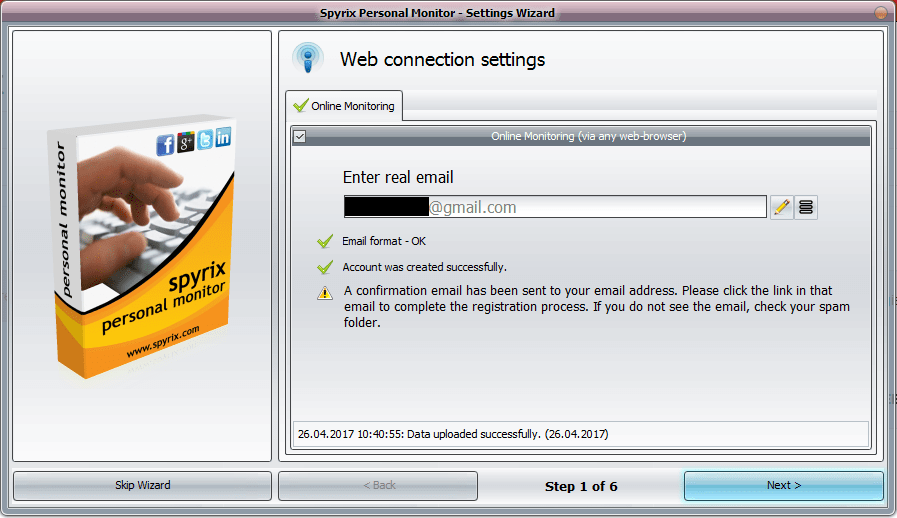
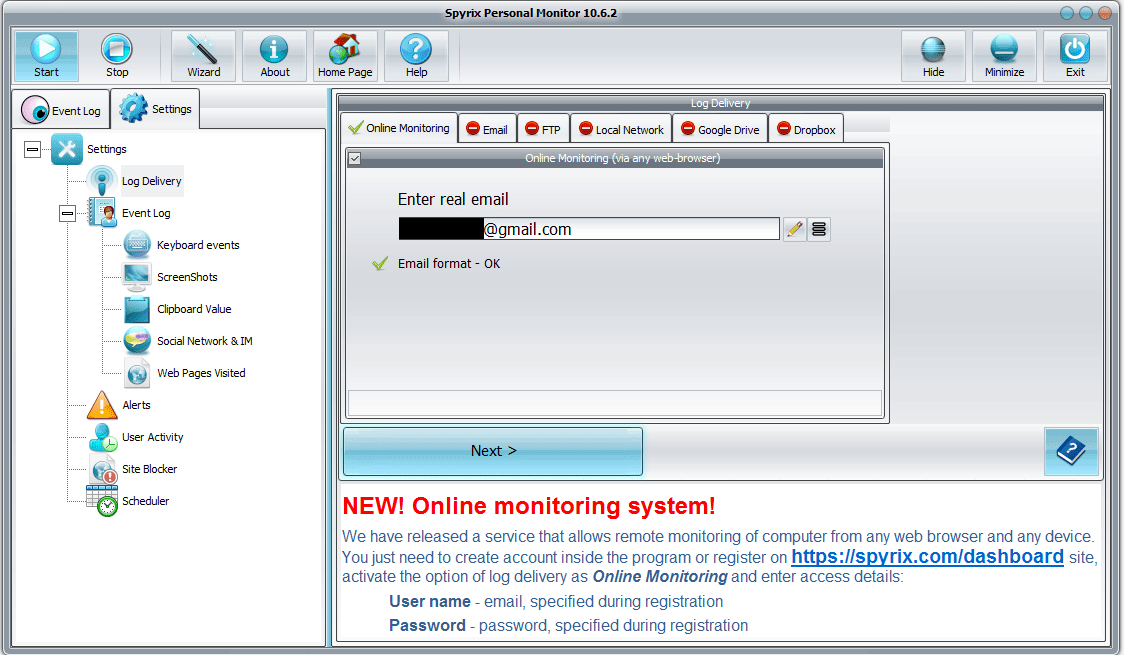
1) ウェブ接続設定
– オンラインモニタリング(任意のウェブブラウザ経由)」にチェックを入れて有効にする。
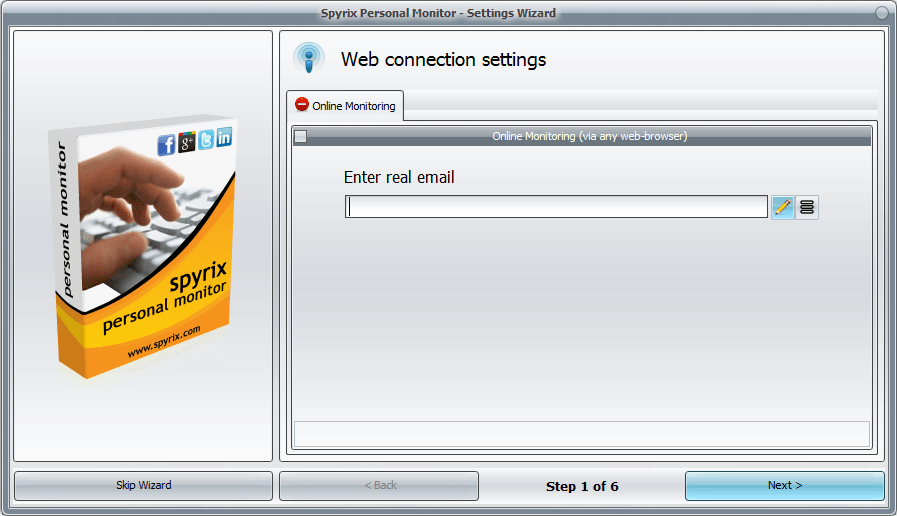
– Eメールアドレスを入力し、プログラムがチェックするのを待ち、「次へ」をクリックします。
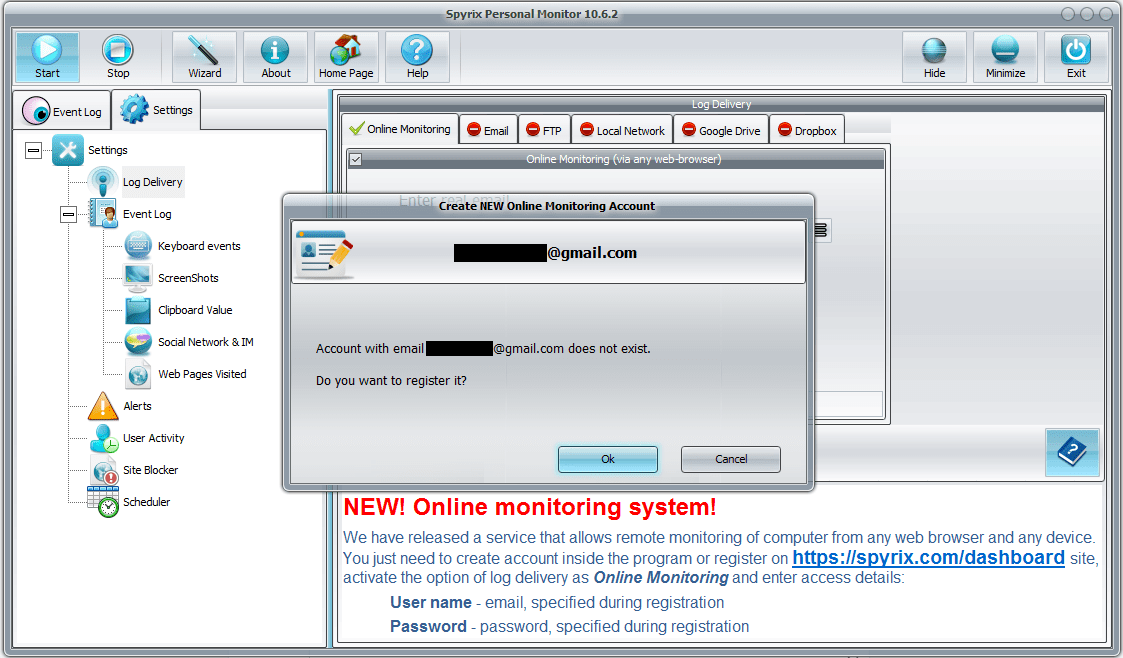
– 新しいウィンドウが開きますので、「OK」をクリックしてアカウントを作成してください。
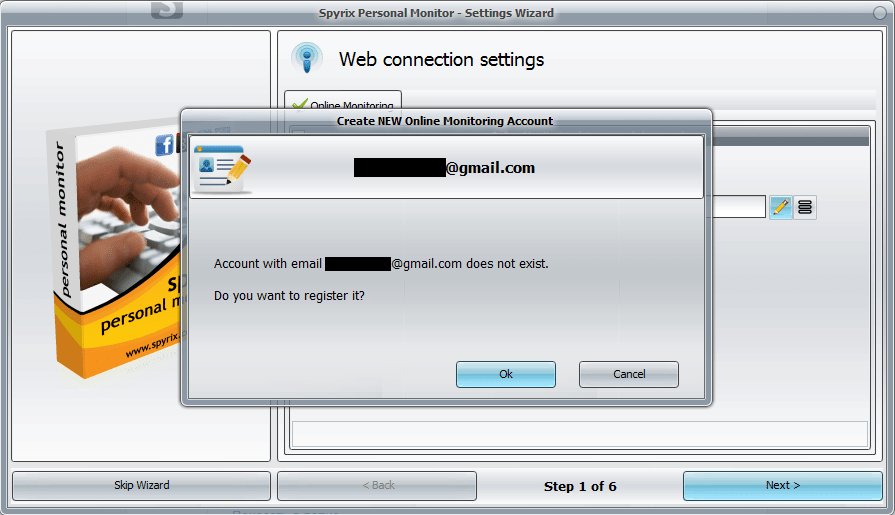
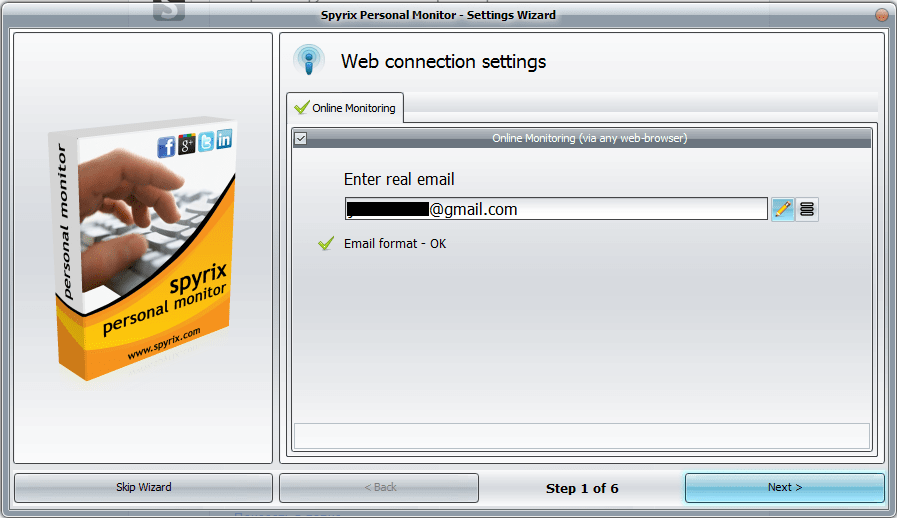
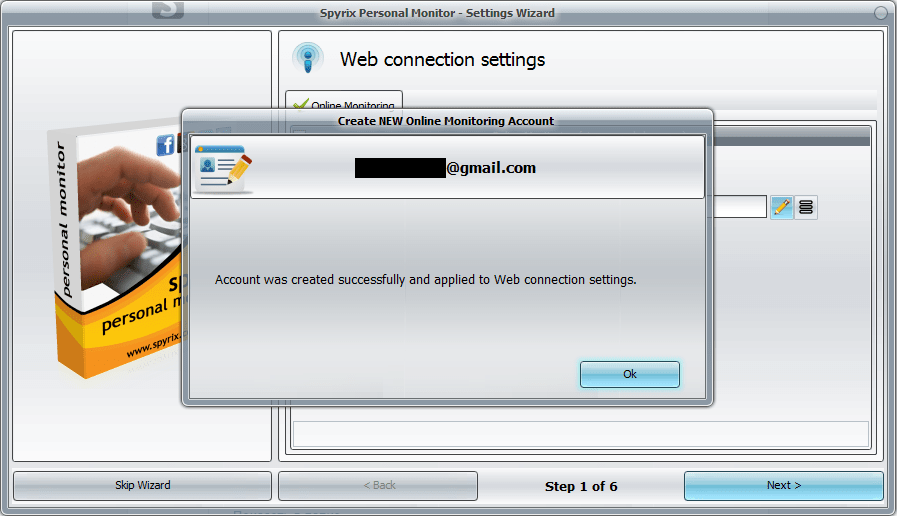
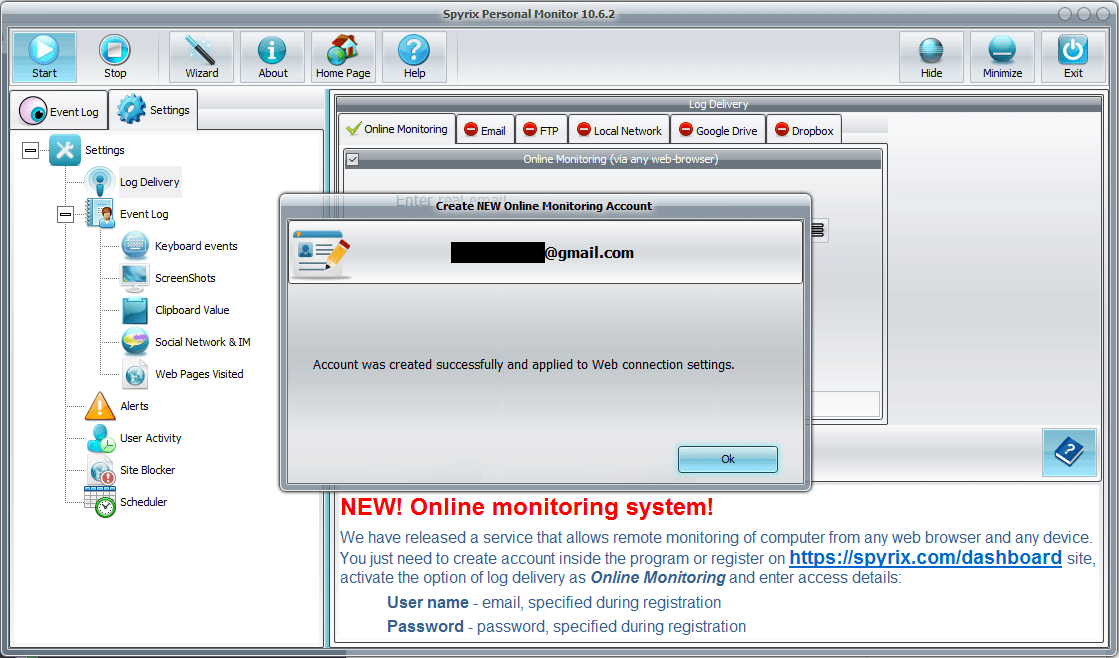
– すべてが正しく行われていれば、このようなメッセージが表示されます:
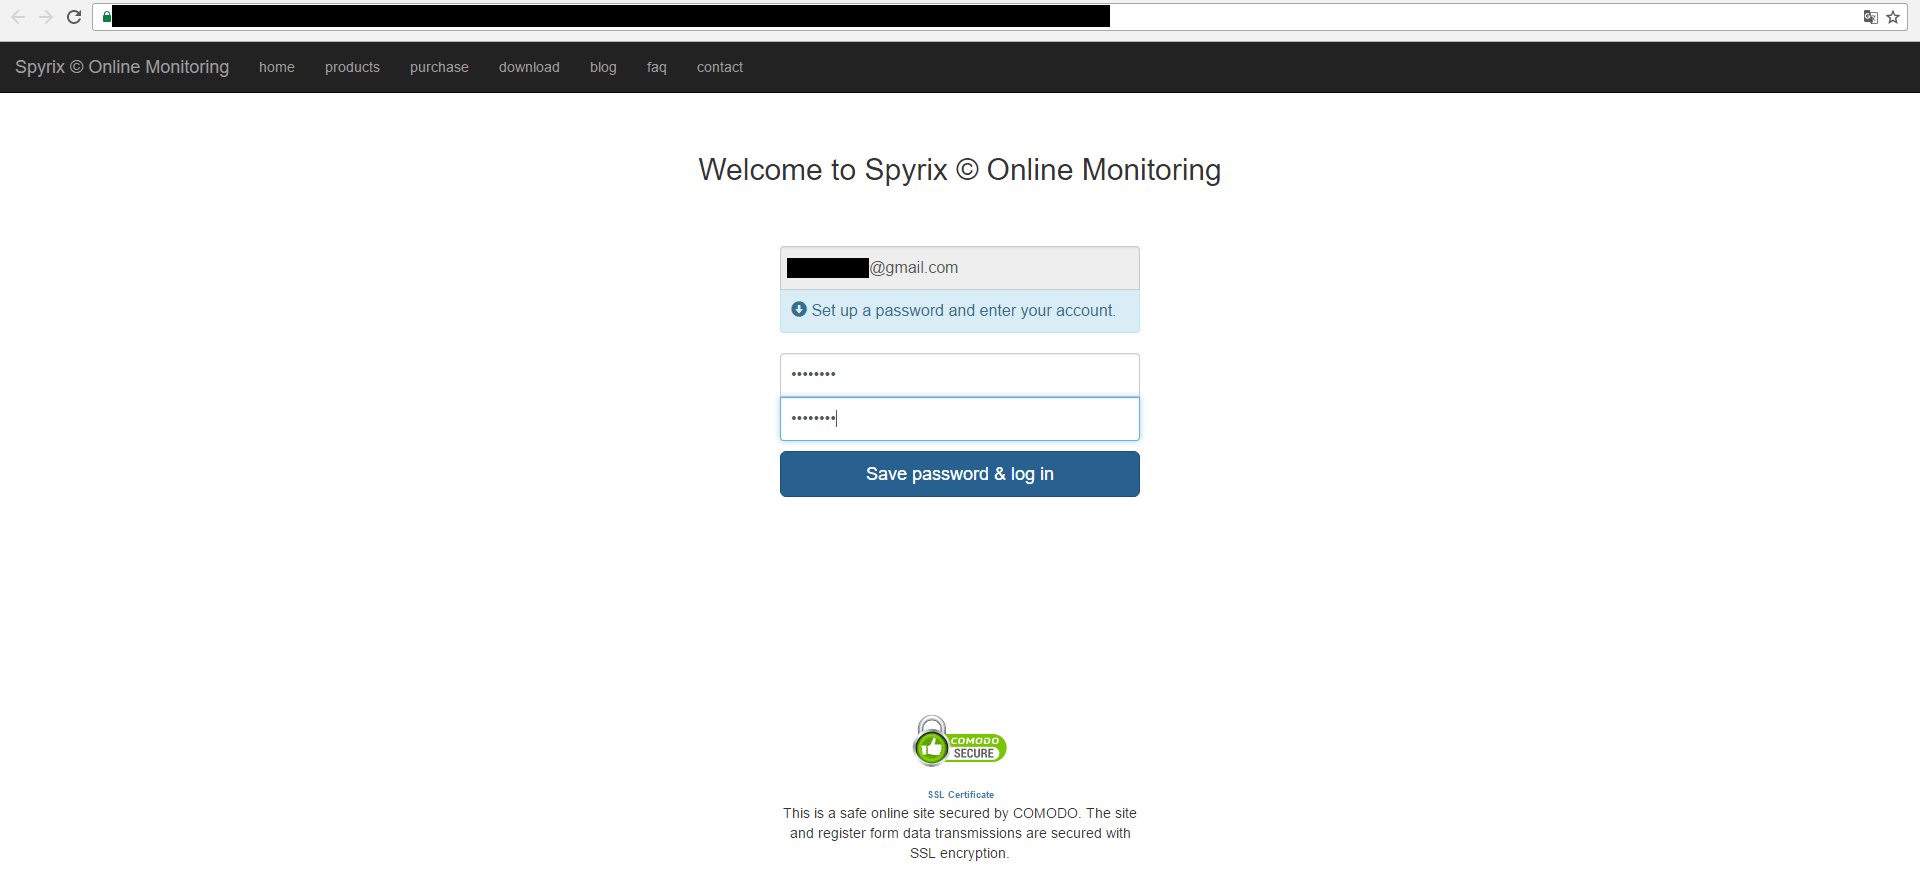
– 次に、Eメールにアクセスし、アカウントをアクティベートする必要がある。
– アカウントの有効化リンクをクリックすると、ログインするためにアカウントのパスワードを設定する必要があります。
– しばらくすると、あなたのアカウントに最初のデータが届きます。
– 次へ」をクリックしてウィザードのステップ2に進みます。
すでにSpyrixアカウントをお持ちの場合
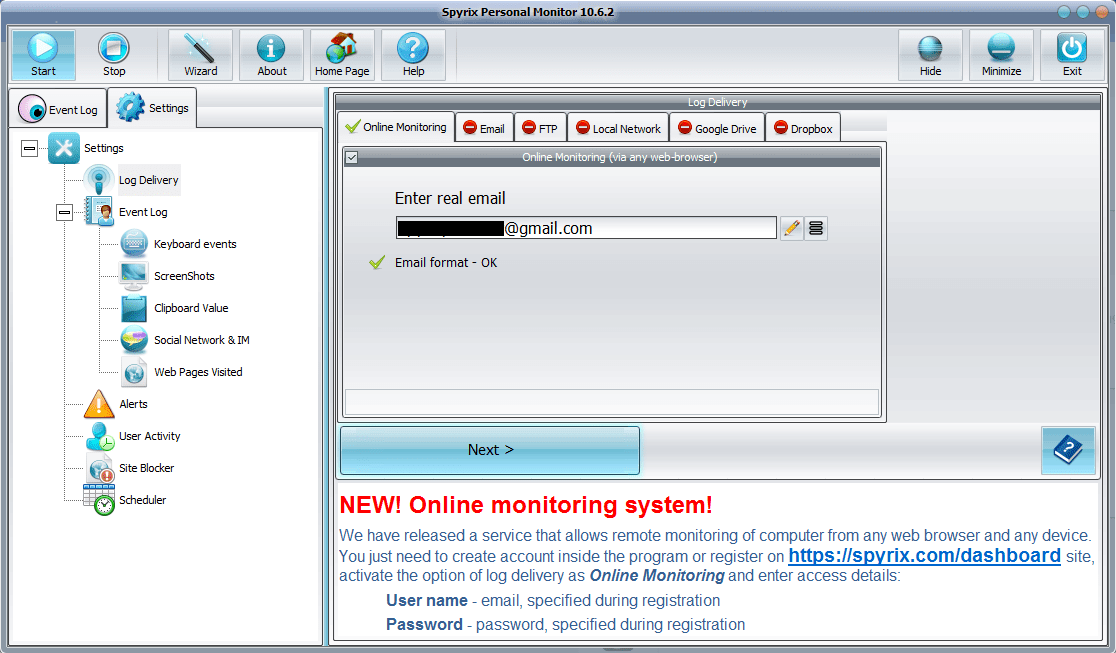
– オンラインモニタリング(任意のウェブブラウザ経由)」にチェックを入れて有効にする。
– アカウントのEメールアドレスを入力し、プログラムがチェックするのを待ち、「次へ」をクリックします。

– 情報が正しく入力されていれば、このようなメッセージが表示されます:

– 数分後、あなたのアカウントに最初のデータが届きます。
– 次へ」をクリックしてウィザードのステップ2に進みます。
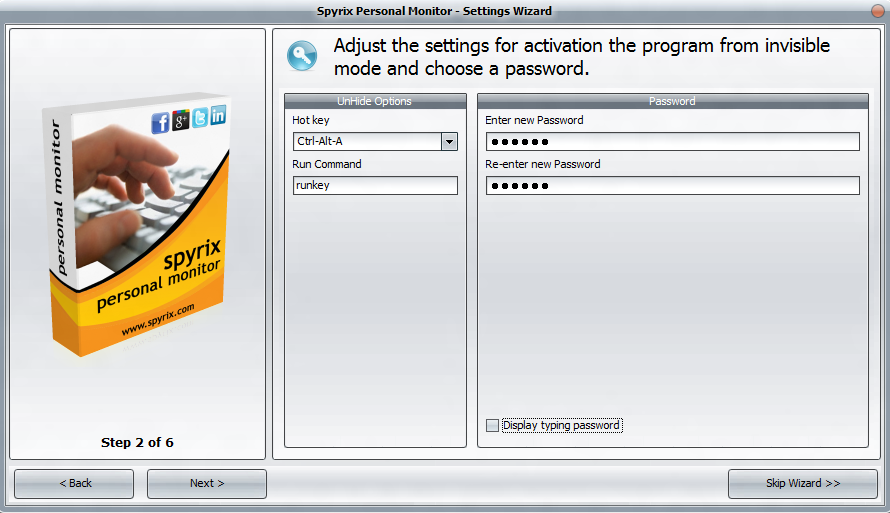
2) 隠しモードからプログラムを起動するためのホットキーを選択し(またはデフォルトのまま)、プログラムを起動するためのパスワードを作成します(必要ありません)。
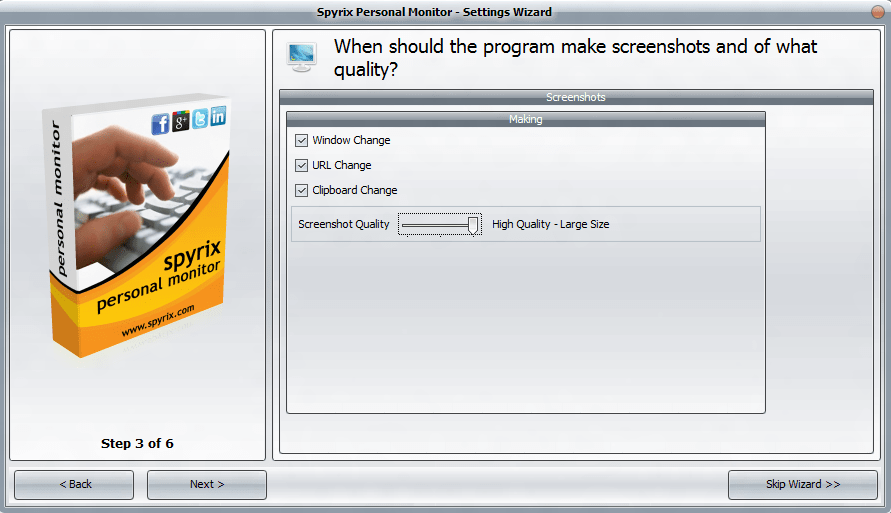
3) スクリーンショットの画質を設定し、作成するタイミングを選択します。
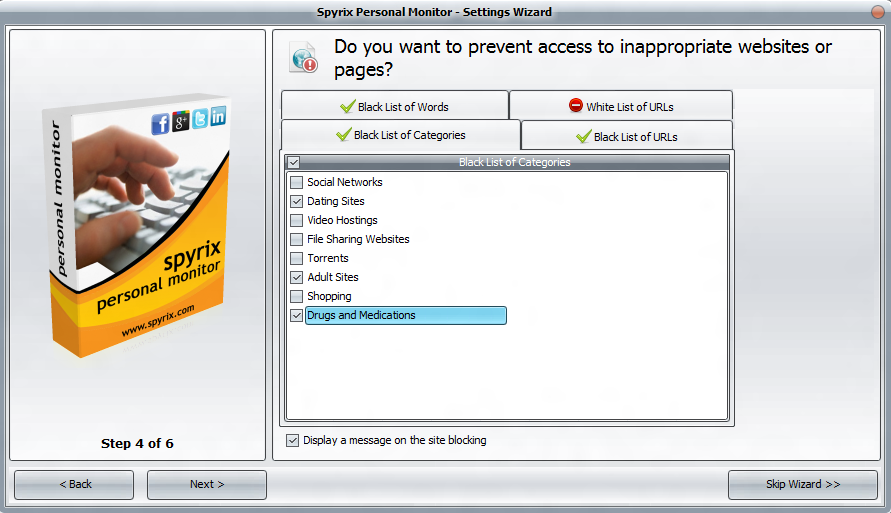
4) ブロックするカテゴリまたは特定のウェブサイトを選択します(必須ではありません)。
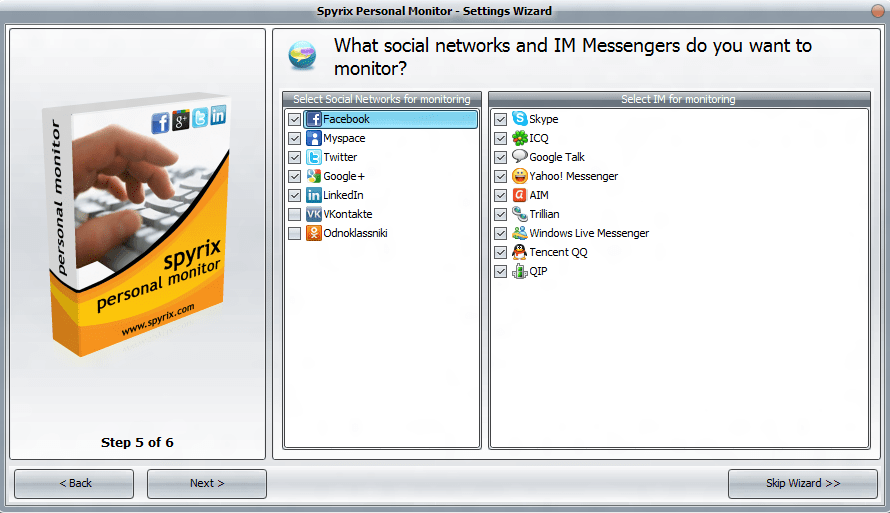
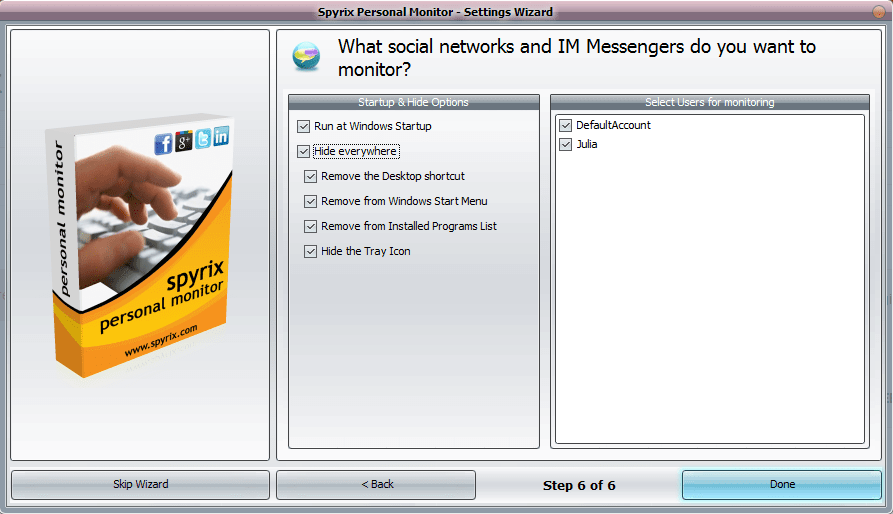
5) 監視したいソーシャルネットワークやメッセンジャーを選ぶ。
6) ターゲットコンピュータ上でプログラムを非表示にするかどうか、またどのように非表示にするかを選択します。また、監視するすべてのユーザーにチェックを入れます。プログラムを自動的に実行させたい場合は、"Start at Windows startup" ボックスにチェックを入れたままにしておきます。
4. プログラム登録方法
4.1 プログラムへのライセンス登録方法
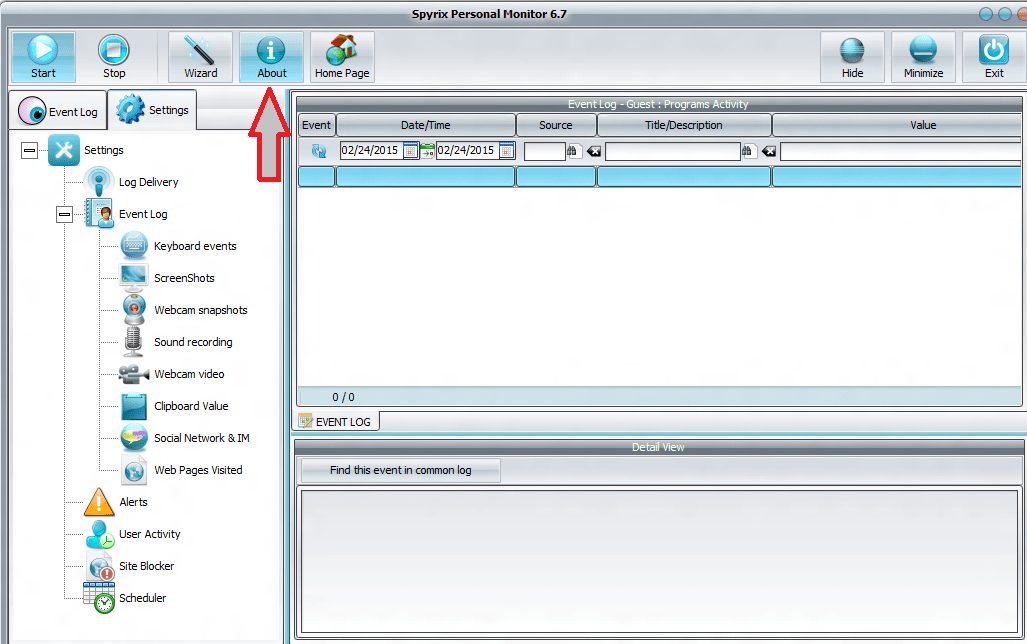
ライセンスを登録するには、プログラムの「About」ボタンをクリックしてください。
ライセンス認証コードを入力」をクリック
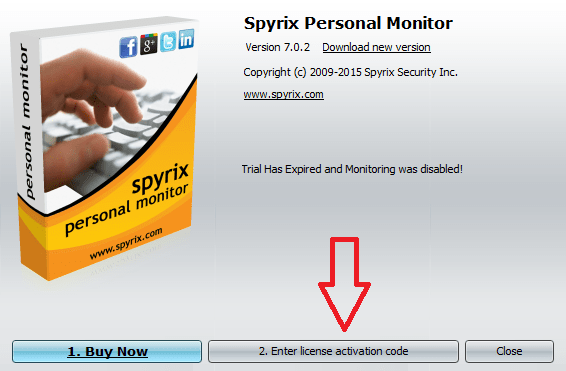
購入後に受け取ったライセンスコードを適切なフィールドにコピー/ペーストしてください。例えば
ライセンスの種類: SPM00AAAAA
アクティベーションコード: AAAAAA-2A2A2A-BBBBBB-ABABAB-TTTTTT-8T9T9R
このキーをコピーして、適切なフィールドに入力してください。例えば

4.2 オンラインダッシュボードでのライセンス登録方法
1. オンラインダッシュボードに入り、画面右上のEメールをクリックし、ドロップダウンメニューから「アカウント」を選択します。
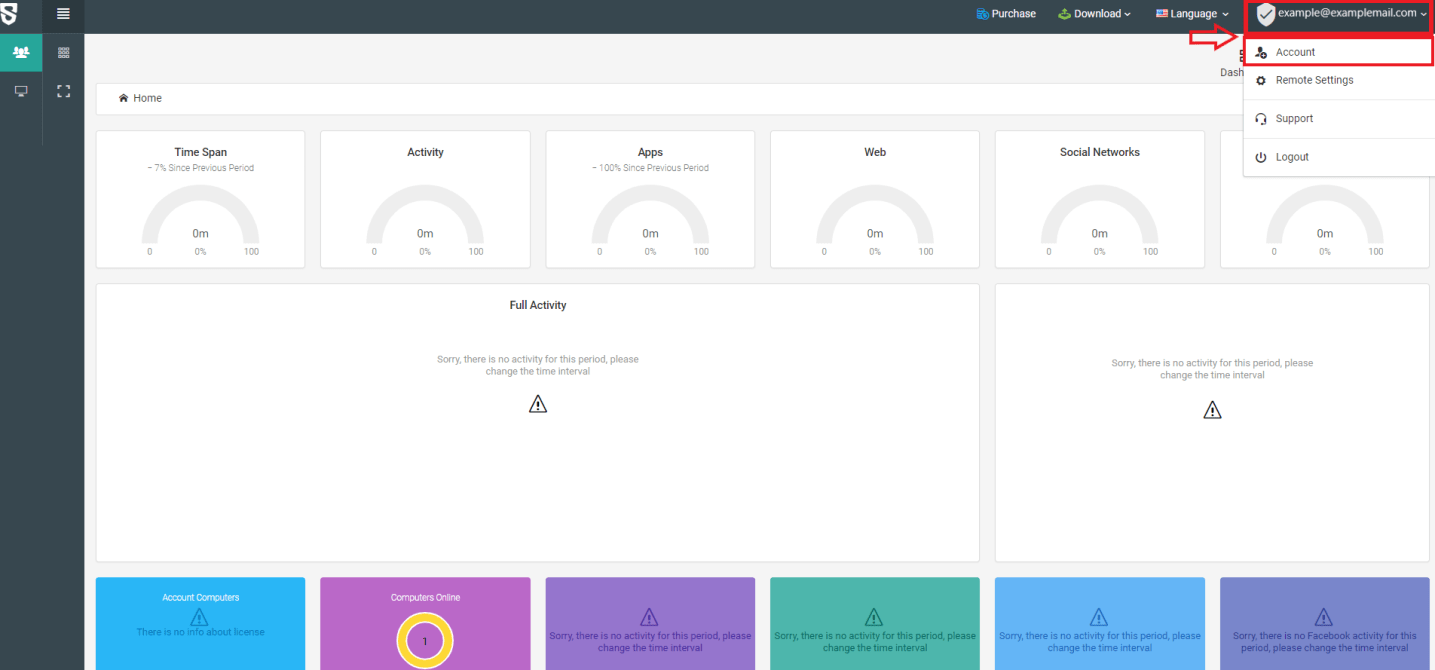
2. ライセンスタイプとライセンスコードを入力し、「登録」をクリックします。

5. すべてのデータをリモートで見るためのオンライン・モニタリングの設定方法
5.1 Spyrixアカウント未登録の場合
1. プログラムを開きます。設定]->[ログ配信]->[オンライン監視]タブを開きます。
2. オンラインモニタリング(任意のウェブブラウザ経由)」にチェックを入れて有効にする。
3. Eメールアドレスを入力し、プログラムがチェックするのを待ち、「次へ」をクリックします。
4. 新しいウィンドウが開きますので、「OK」をクリックしてアカウントを作成してください。
5. すべてが正しく行われていれば、このようなメッセージが表示されます:
6. 次に、Eメールにアクセスし、アカウントをアクティベートする必要がある。
7. アカウントの有効化リンクをクリックすると、ログインするためにアカウントのパスワードを設定する必要があります。
8. しばらくすると、あなたのアカウントに最初のデータが届きます。
5.2 Spyrixアカウントを登録済みの場合
1. プログラムを開きます。設定]->[ログ配信]->[オンライン監視]タブを開きます。
2. オンラインモニタリング(任意のウェブブラウザ経由)」にチェックを入れて有効にする。
3. アカウントのEメールアドレスを入力し、プログラムがチェックするのを待ち、「次へ」をクリックします。
4. 情報が正しく入力されていれば、このようなメッセージが表示されます:
5. 数分後、あなたのアカウントに最初のデータが届きます。
6. 送信ログの設定方法
6.1 Spyrix Security Inc.経由のログ送信設定方法
プログラムを開く。ログ配信に進みます。Eメール]タブを選択し、[Eメールによる配信]の近くにチェックを入れます。
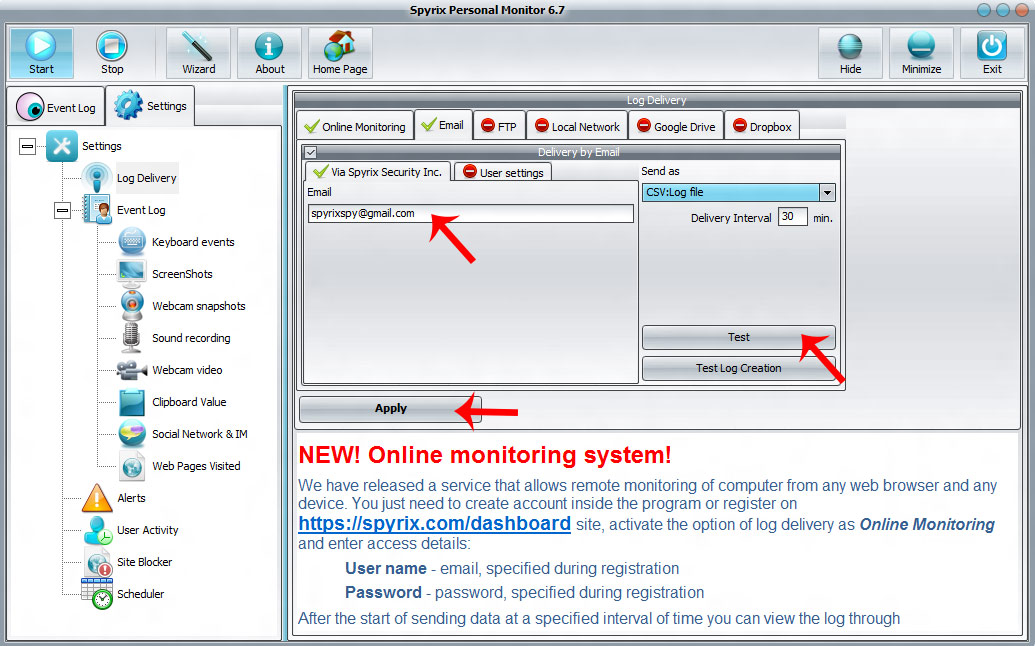
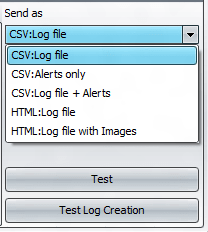
次に、"Via Spyrix Security Inc. "ウィンドウの "Email "フィールドにEmailを入力し、配信間隔を設定し、ファイルを受信する形式を選択します。デフォルトはCSVです。
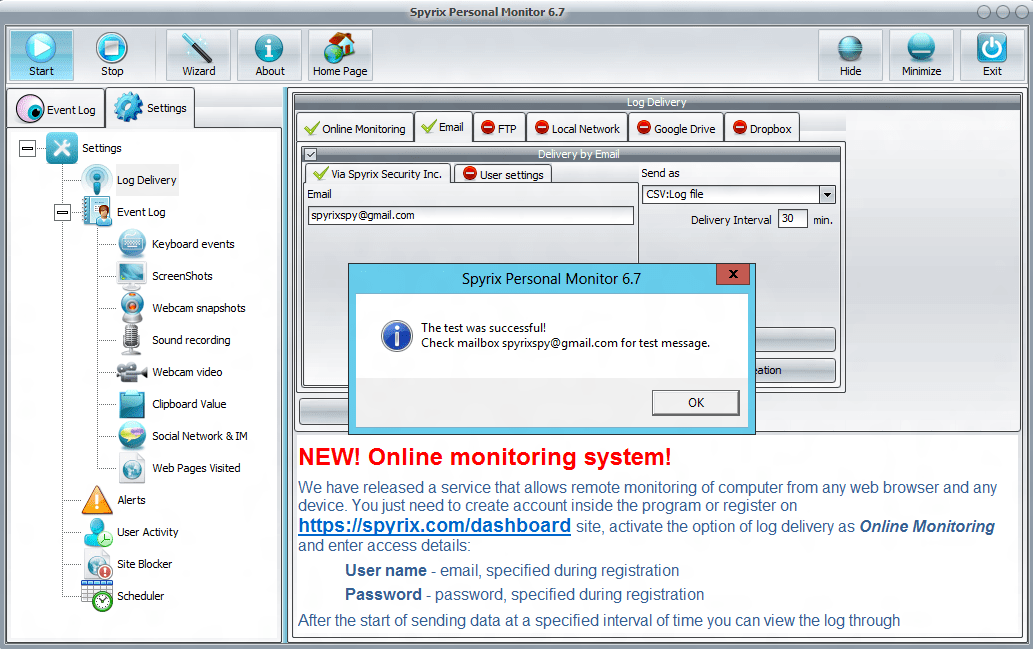
その後、"Apply "と "Test "を押す
すべてが正しく行われていれば、テスト・メッセージの送信に成功したというメッセージが表示されます。
どのような形式でログファイルが送信されるかを確認することもできます。同じウィンドウで「ログ作成テスト」を押してください。
6.2 ログをメールで送信する設定方法
また、メールサービスを利用して、ログを電子メールに送信することもできます。ユーザー設定」タブを押してください。ここでは、電子メール、SMTP/ポート、ユーザー名、パスワードを入力します。その後、"Apply "と "Test "を押してください。
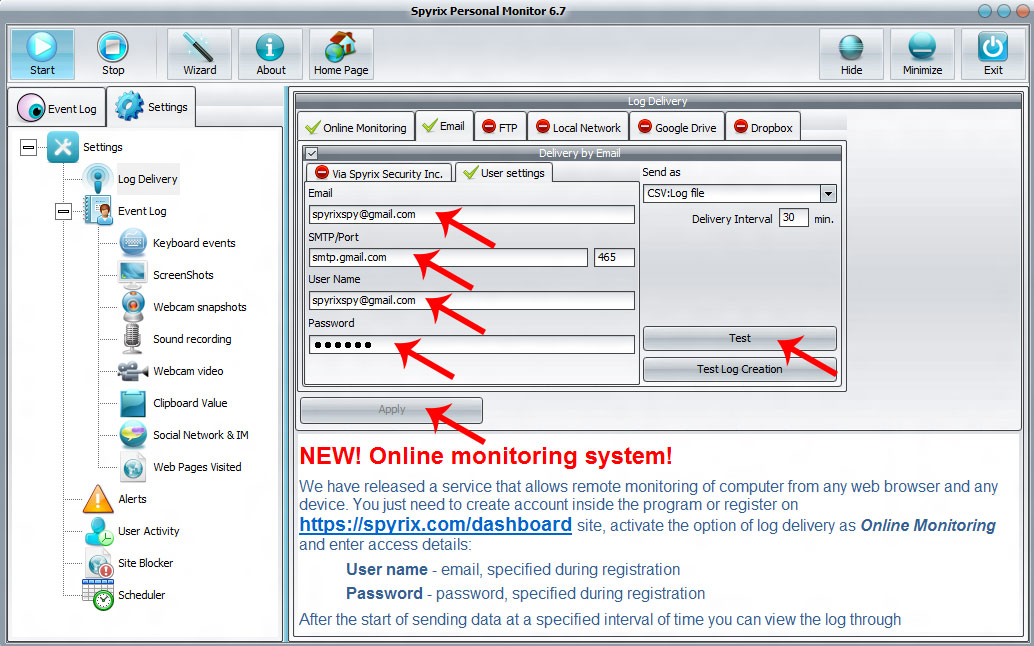
すべてが正しく行われていれば、テスト・メッセージの送信に成功したというメッセージが表示されます。

これらの設定は上級ユーザー向けです。弊社サーバー経由でログを送信することをお勧めします。
6.4 FTPでログを送信する設定方法
プログラムを開く。ログ配信に進みます。FTP]タブを選択し、[FTPで配信]の近くにチェックを入れます。

次に、FTPサーバー、リモートFTPフォルダー、ユーザー名とパスワードのフィールドに入力する必要があります。
その後、"Apply "と "Test "を押す。
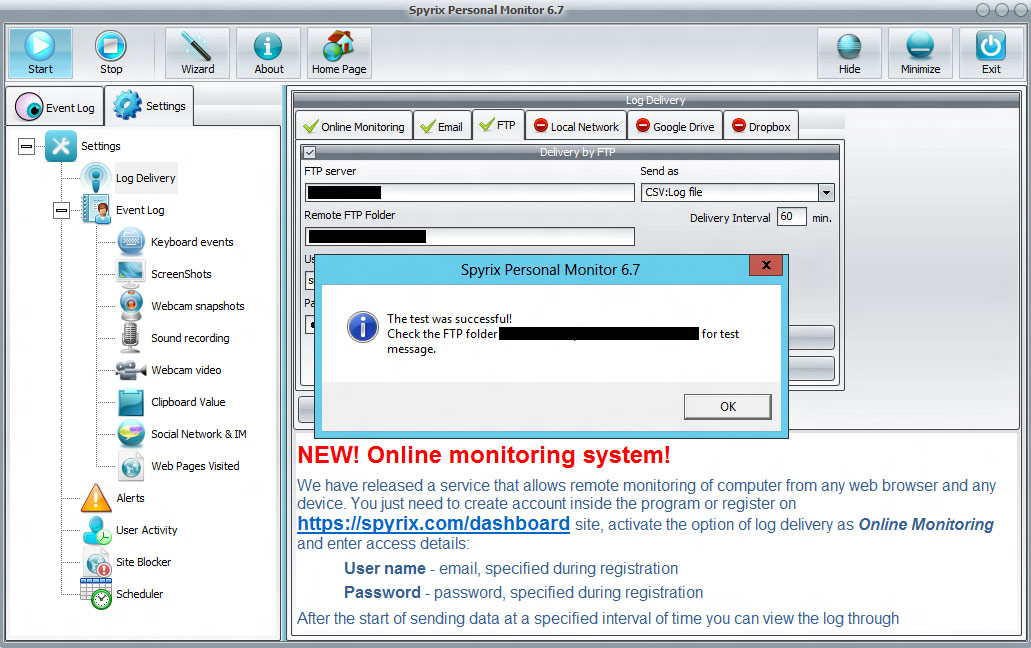
すべてが正しく行われていれば、FTP経由であなたのフォルダにテストメッセージが正常に送信されたというメッセージが表示されます。
6.5 ローカルネットワーク経由でのログ送信設定方法
プログラムを開く。ログ配信を開きます。ローカルネットワーク]タブを選択し、[ローカルネットワークによる配信]の近くにチェックを入れます。
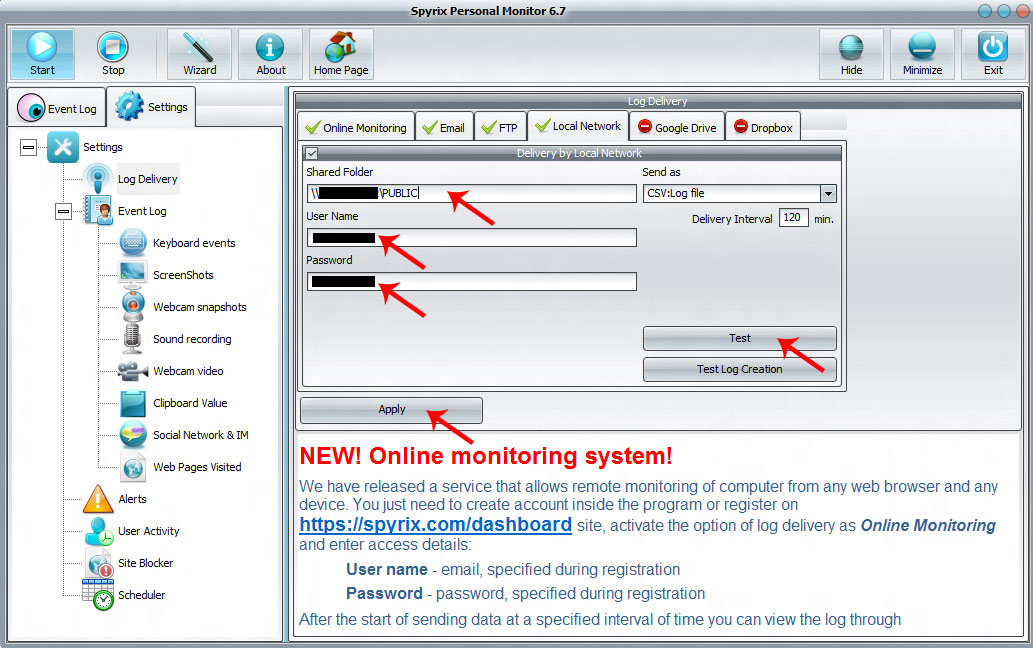
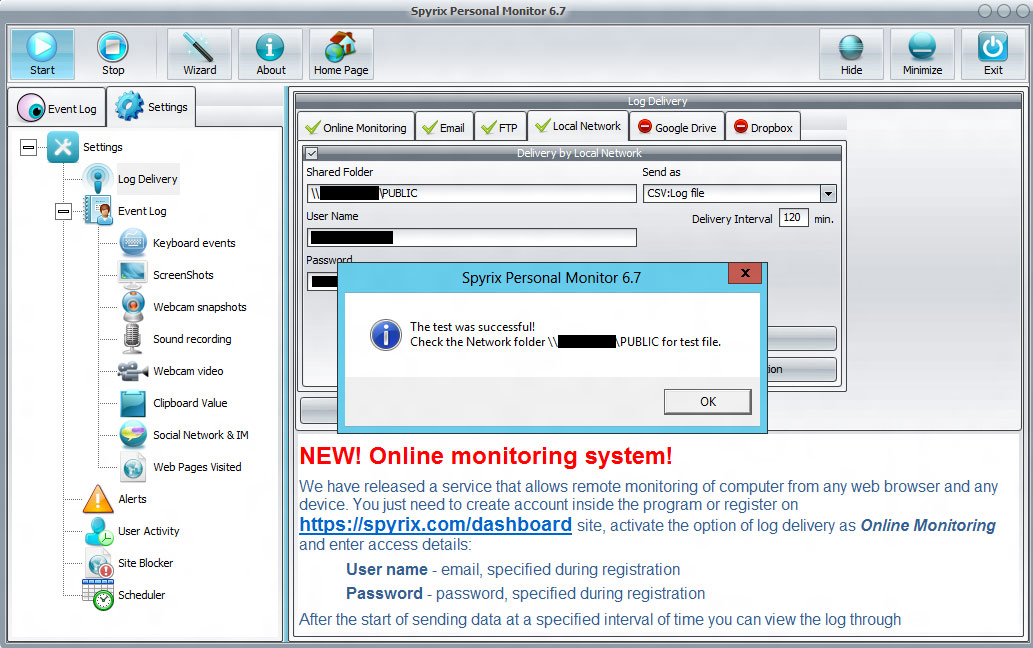
次に、共有フォルダー、ユーザー名、パスワードのフィールドに入力する必要があります。その後、"Apply "と "Test "を押してください。すべてが正しく行われた場合、ローカルネットワーク内のフォルダへのテストメッセージ送信が成功したというメッセージが表示されます。
6.5 Googleドライブでログを送信する設定方法
プログラムを開く。ログ配信に進みます。Googleドライブのタブを選択し、Googleドライブへの配信の近くにチェックを入れます。適用」を押します。次に「Google Driveアカウントにプログラムを接続する」を押します。

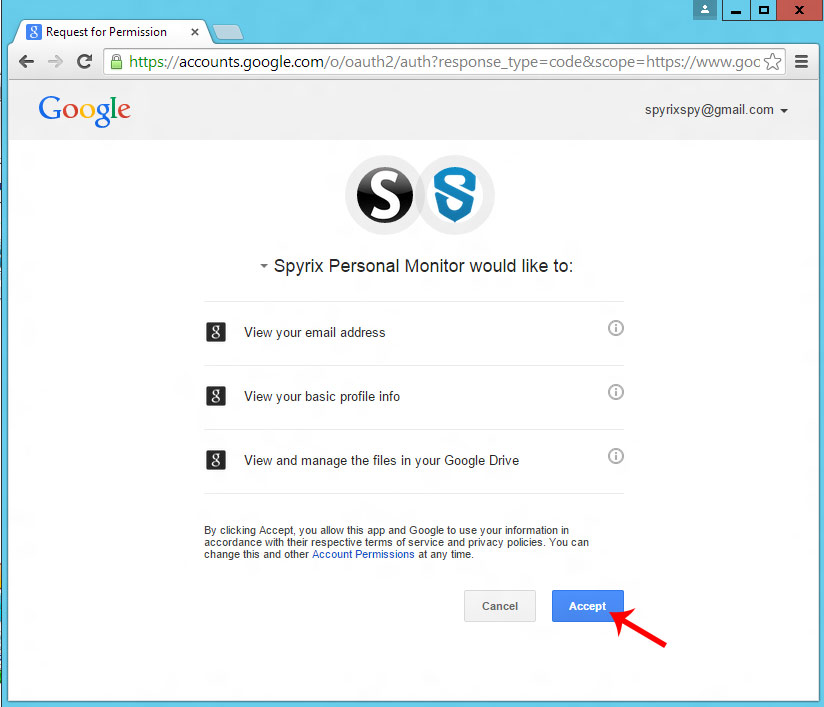
ブラウザが開き、Googleアカウントを入力するよう求められます。その後、リクエストのプログラムウィンドウが表示されます。Accept "を押してください。
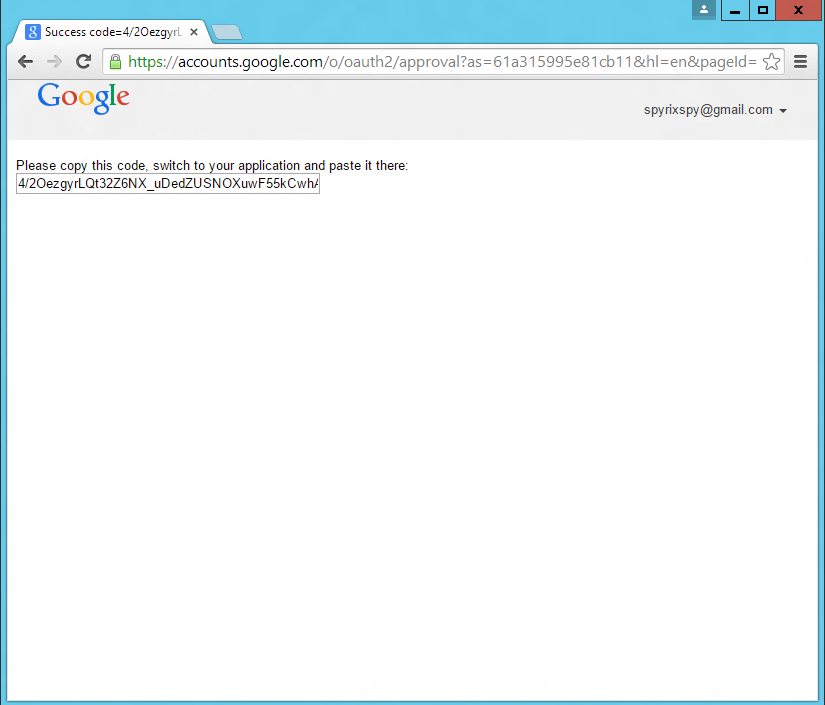
すると、Googleからの確認コードが表示されます。それをコピーしてプログラムに入力してください。
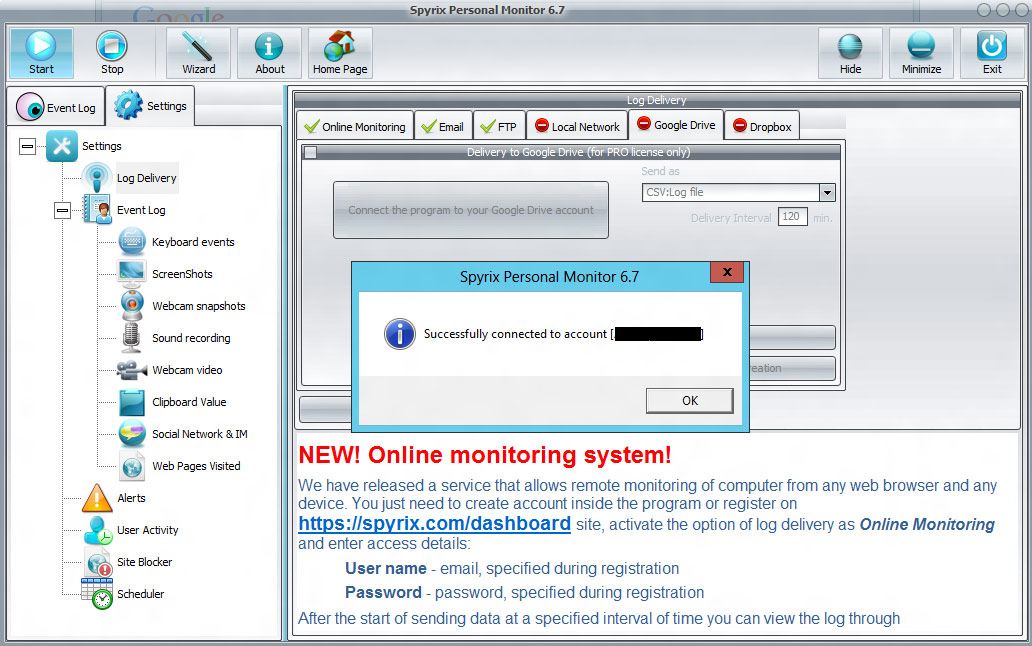
すべてが正しく行われていれば、Googleアカウントとの接続に成功したというメッセージが表示されます。
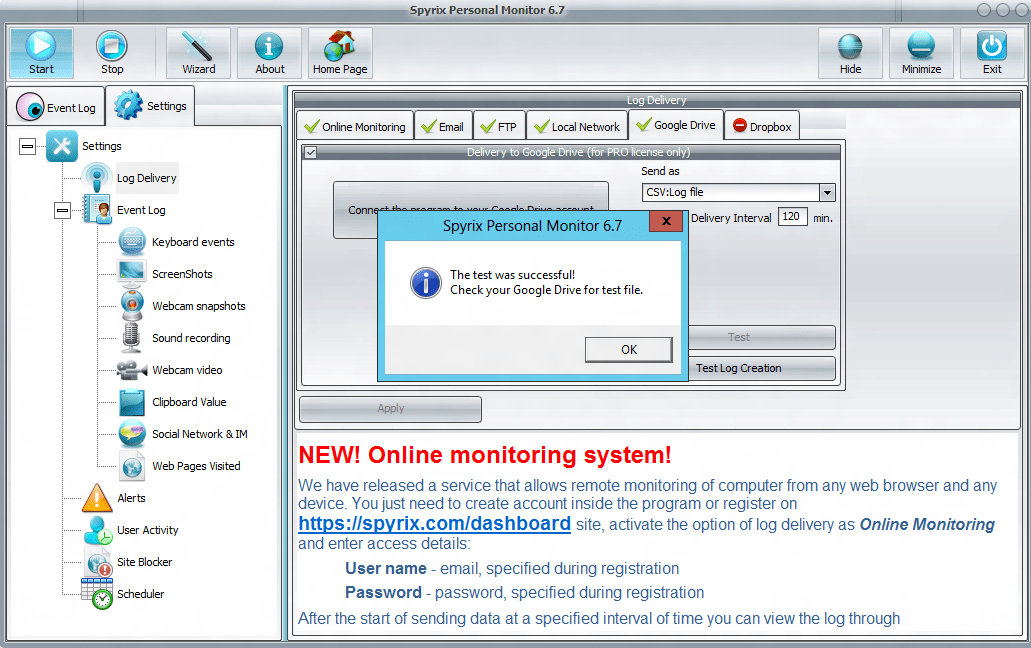
次に「テスト」を押すと、Google Driveアカウントへのテストメッセージ送信成功のメッセージが表示されます。
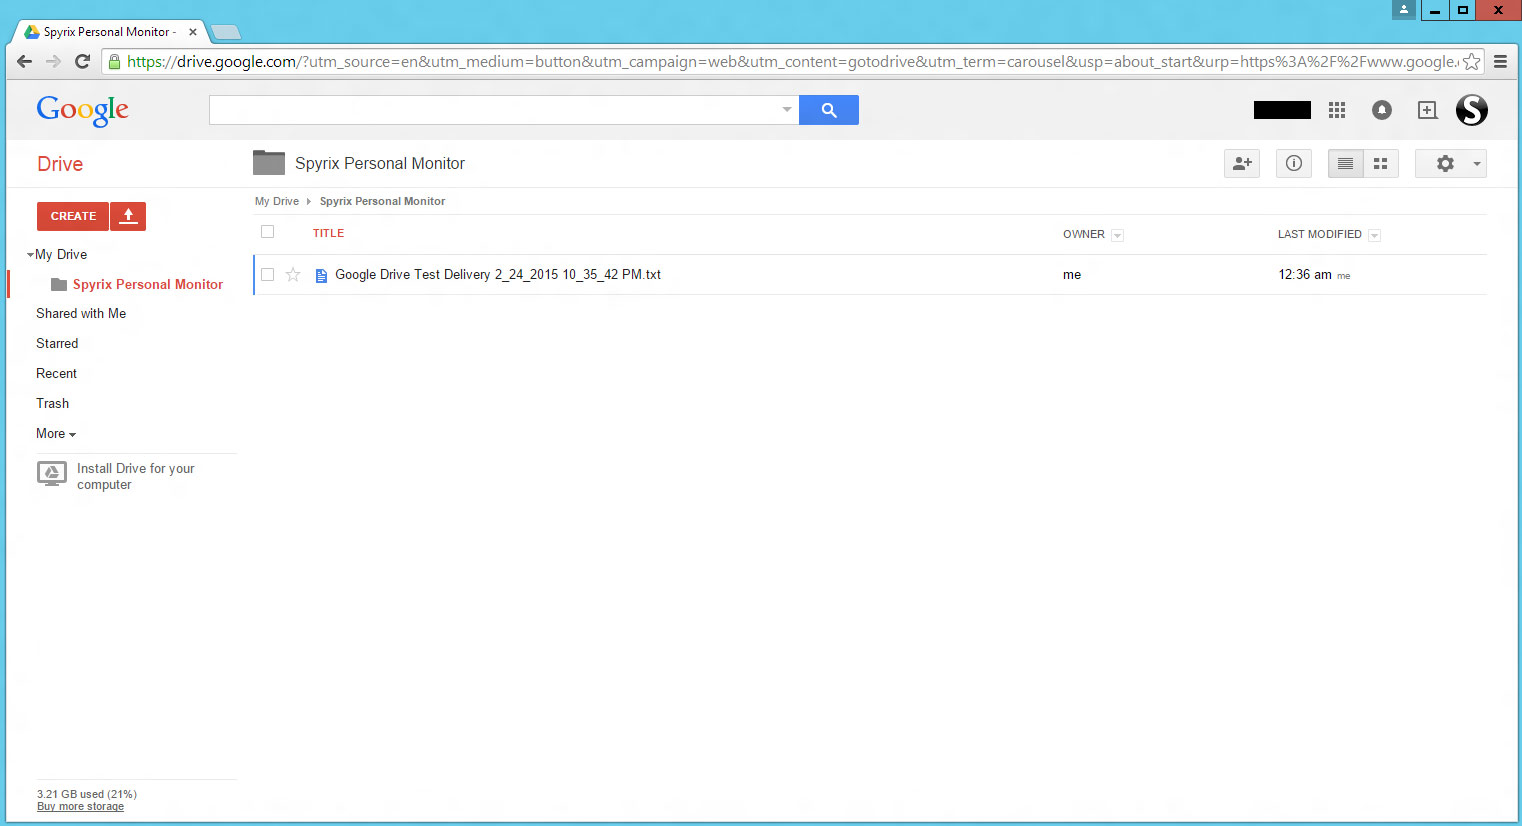
Googleドライブを開く。Spyrixフォルダが表示されました。プログラムからのログはこのフォルダに送られる。
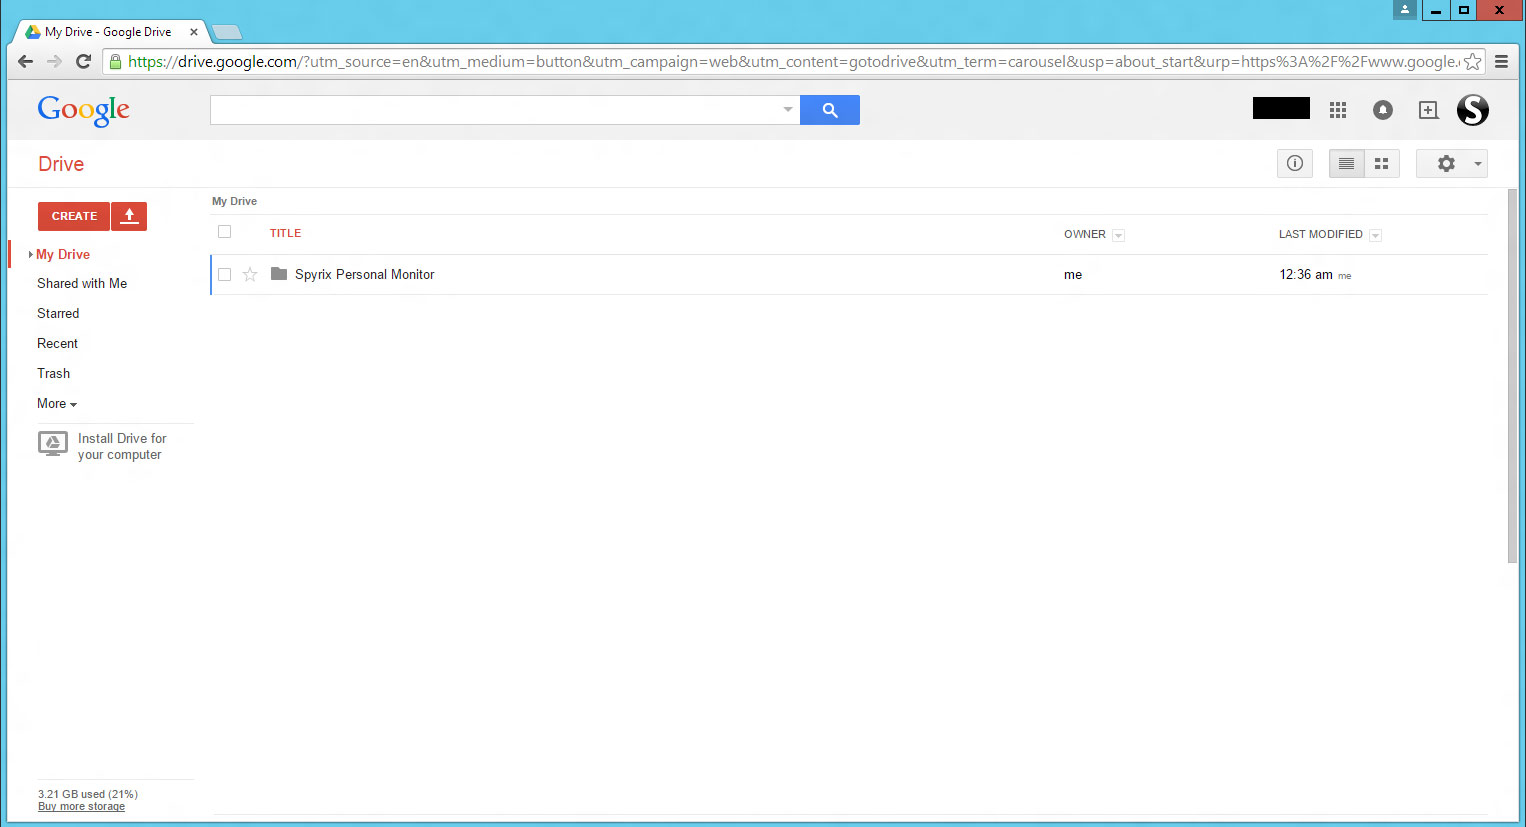
フォルダを開き、最初のテストログを見る。
開く
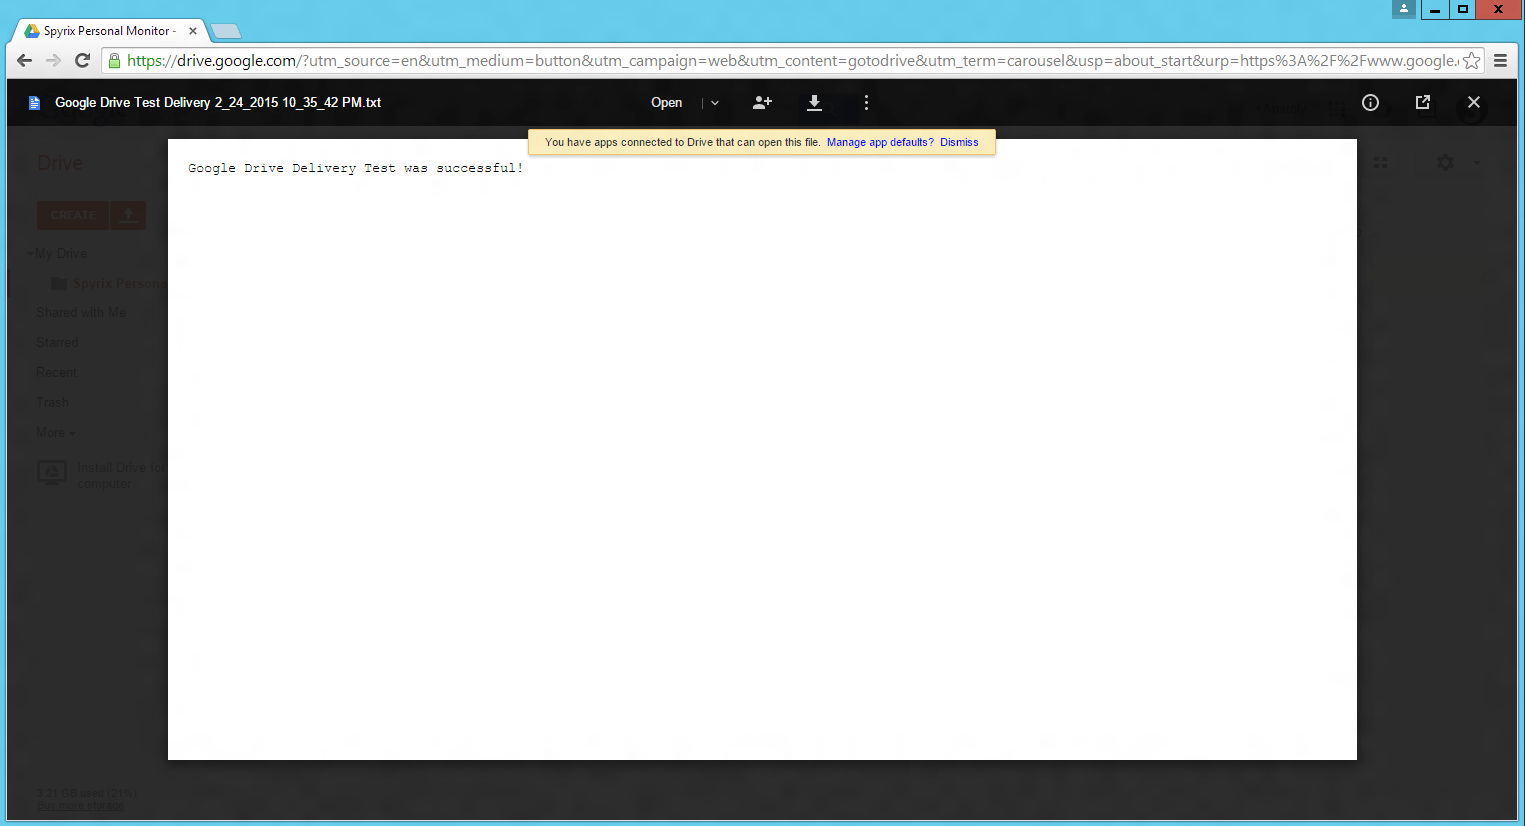
このメッセージは、あなたがすべて正しく行ったことを意味する。